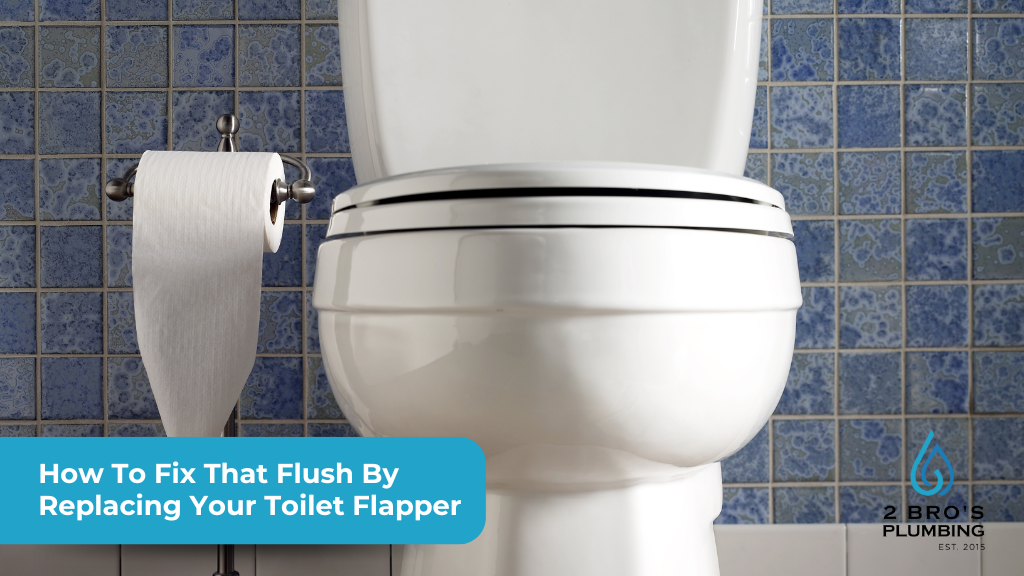
Have you ever noticed that a flushing sound – or more accurately, the start of a flushing sound – is emanating from your toilet when no one is in the bathroom? Don’t worry. You don’t have a ghost lurking among your toiletries. At least, we’re pretty sure you don’t! The cause of that running water between actual flushes is most likely a worn out toilet flapper.
When you lift the lid off the toilet tank, you’ll see that little flapper connected to the chain that connects to the lever. It’s time to replace it. Let’s go through some easy steps that will allow you to fix that flush!
Gather your tools and shut off the water supply.
For the record, a toilet flapper replacement is a pretty easy job. In fact, it really doesn’t require any tools at all. However, you may wish to don a pair of rubber gloves and grab some cleaning supplies before you get to work. The only supply you truly need is a brand new toilet flapper.
Your next step is to turn off the water supply to your toilet. Do you see the shut-off valve that’s located right behind your toilet? Simply turn it clockwise (“righty tighty”) until it is completely closed. At this point, you can give the toilet a flush to drain the tank. Working with a dry and empty tank helps you to avoid making a mess.
Remove the old flapper.
Out with the old and in with the new! The flapper is located at the bottom of the toilet tank. You’ll see it covering the hole that drains the water whenever the toilet is flushed. Generally, the flapper is help in place by two small hooks or pegs. Carefully unhook the flapper from them and detach the chain from the flush handle.
You don’t want to damage the pegs as they are needed to keep the new flapper in place. A particularly old or crusty flapper may be a little harder to remove. Once it’s off, discard it and prepare to attach your new toilet flapper. Before doing so, however, you may want to take a sponge and some household cleaner to remove any built-up crud around the flush valve opening. This will help your new flapper to create a better seal that will prevent future leaks.
Install the new flapper and turn the water back on.
Grab your new flapper and use the holes on the sides to attach it to the hooks or pegs. Secure both sides of the flapper and make sure that it is aligned properly. You can now connect the new flapper chain to the flush handle lever. In some cases, you may need to adjust the length of the chain so that the flapper can properly open and close when you flush the toilet. Remember that the chain should have just a little bit of slack.
If you didn’t get a replacement chain with your new flapper, using the old chain shouldn’t present any problems. Now it’s time to turn the water supply back on by turning the shut-off valve counter-clockwise (“lefty loosey”). Let the tank fill back up with water and then give it a test flush. The new flapper should lift easily and then settle back down to form a tight seal.
For professional assistance with any and all plumbing issues in your home, please don’t hesitate to contact your friends at 2 Bro’s Plumbing! Give us a call at 905-556-0790 or email us at admin@2brosplumbing.ca.