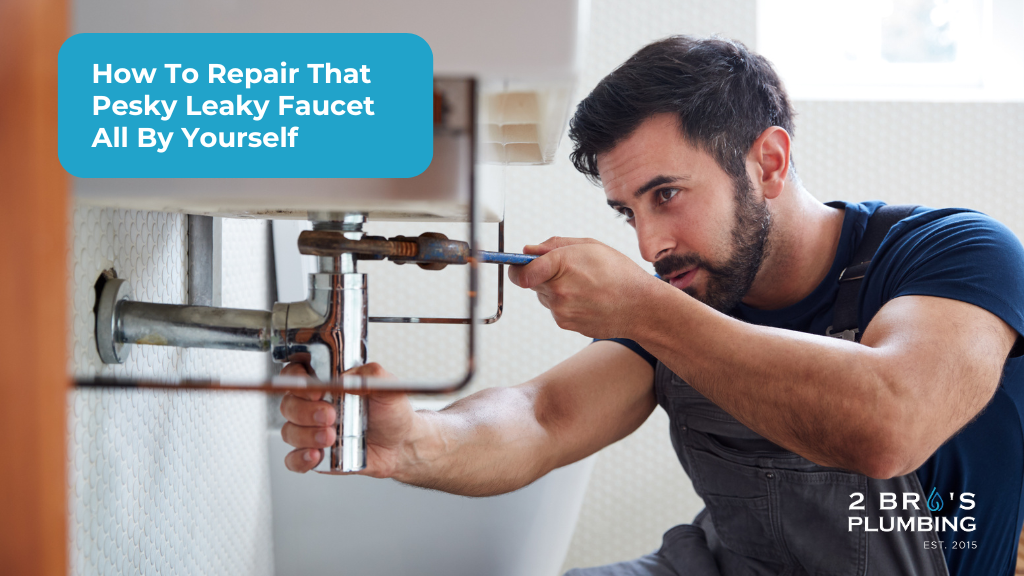
Are finding your monthly water bill mysteriously rising? Is there a constant dripping sound keeping you up at night? Chances are that you have a leaky faucet. It’s not just a nuisance. It’s also a huge waste of water and, of course, money! Not to worry. In many cases, a leaky faucet can be repaired without the help of a professional plumber. The following simple steps may just help you to repair that pesky leaky faucet all by yourself!
Remove the faucet handle.
Okay, first things first. Gather up all of the necessary tools and supplies. We’re talking about an adjustable wrench, a flat-head screwdriver, a Phillips-head screwdriver and a replacement washer or cartridge that is specific to your faucet type. Secondly, prepare your work area by placing a towel underneath your sink. This will help you manage potential water spills. Be sure to shut off the water supply and plug the drain to prevent any small parts from falling into it. Now you’re ready to go!
Using that flat-head screwdriver, gently pry off the decorative cap on the faucet handle. This should reveal a screw that secures the handle to the faucet. Remove the screw and lift off the handle. You may need to gently wiggle it or use some penetrating oil to get it loose.
Pull out the cartridge or stem and replace the washer or O-ring.
Now that you’ve removed the faucet handle, use your adjustable wrench to loosen the packing nut. Carefully remove the cartridge or stem. Stems and cartridges are generally made from plastic, brass or (most often) ceramic. Stems are used in two-handle faucets, one for the cold water and one for the hot water. Cartridges are used in faucets that control both the hot and cold water through one handle. Inspect the part you remove for any signs of damage or wear.
A compromised washer or O-ring is often the culprit for a leaky faucet. Either one can be found at the bottom of a stem or cartridge. Remove the old washer or O-ring and replace it with a new one. Make sure that it fits snugly and is seated properly. You can use plumber’s grease on the new washer or O-ring to ensure a tight seal.
Reassemble and test the faucet.
Once you’re all set with a new washer or cartridge in place, you have to put all the pieces of the puzzle back together. Insert the cartridge or stem back into the faucet body. Tighten the packing nut with the adjustable wrench. Reattach the handle by securing the screw and snapping the decorative cap back on. Be careful not to over-tighten as you may damage the parts.
Now, turn your water supply back on. Open the faucet to determine if the leak has been repaired. It’s a good idea to let the water fun for a few minutes to make sure.
If you’re still noticing a problem, it might be time to call in the pros!
The trained technicians at 2 Bro’s Plumbing have acquired the ability to quickly and accurately diagnose the work that needs to be done. Our prompt and reliable service also makes it possible for us to provide you with a realistic and fair estimate before work begins. Please don’t hesitate to give us a call at 905-556-0790. You may also email us at admin@2brosplumbing.ca.